


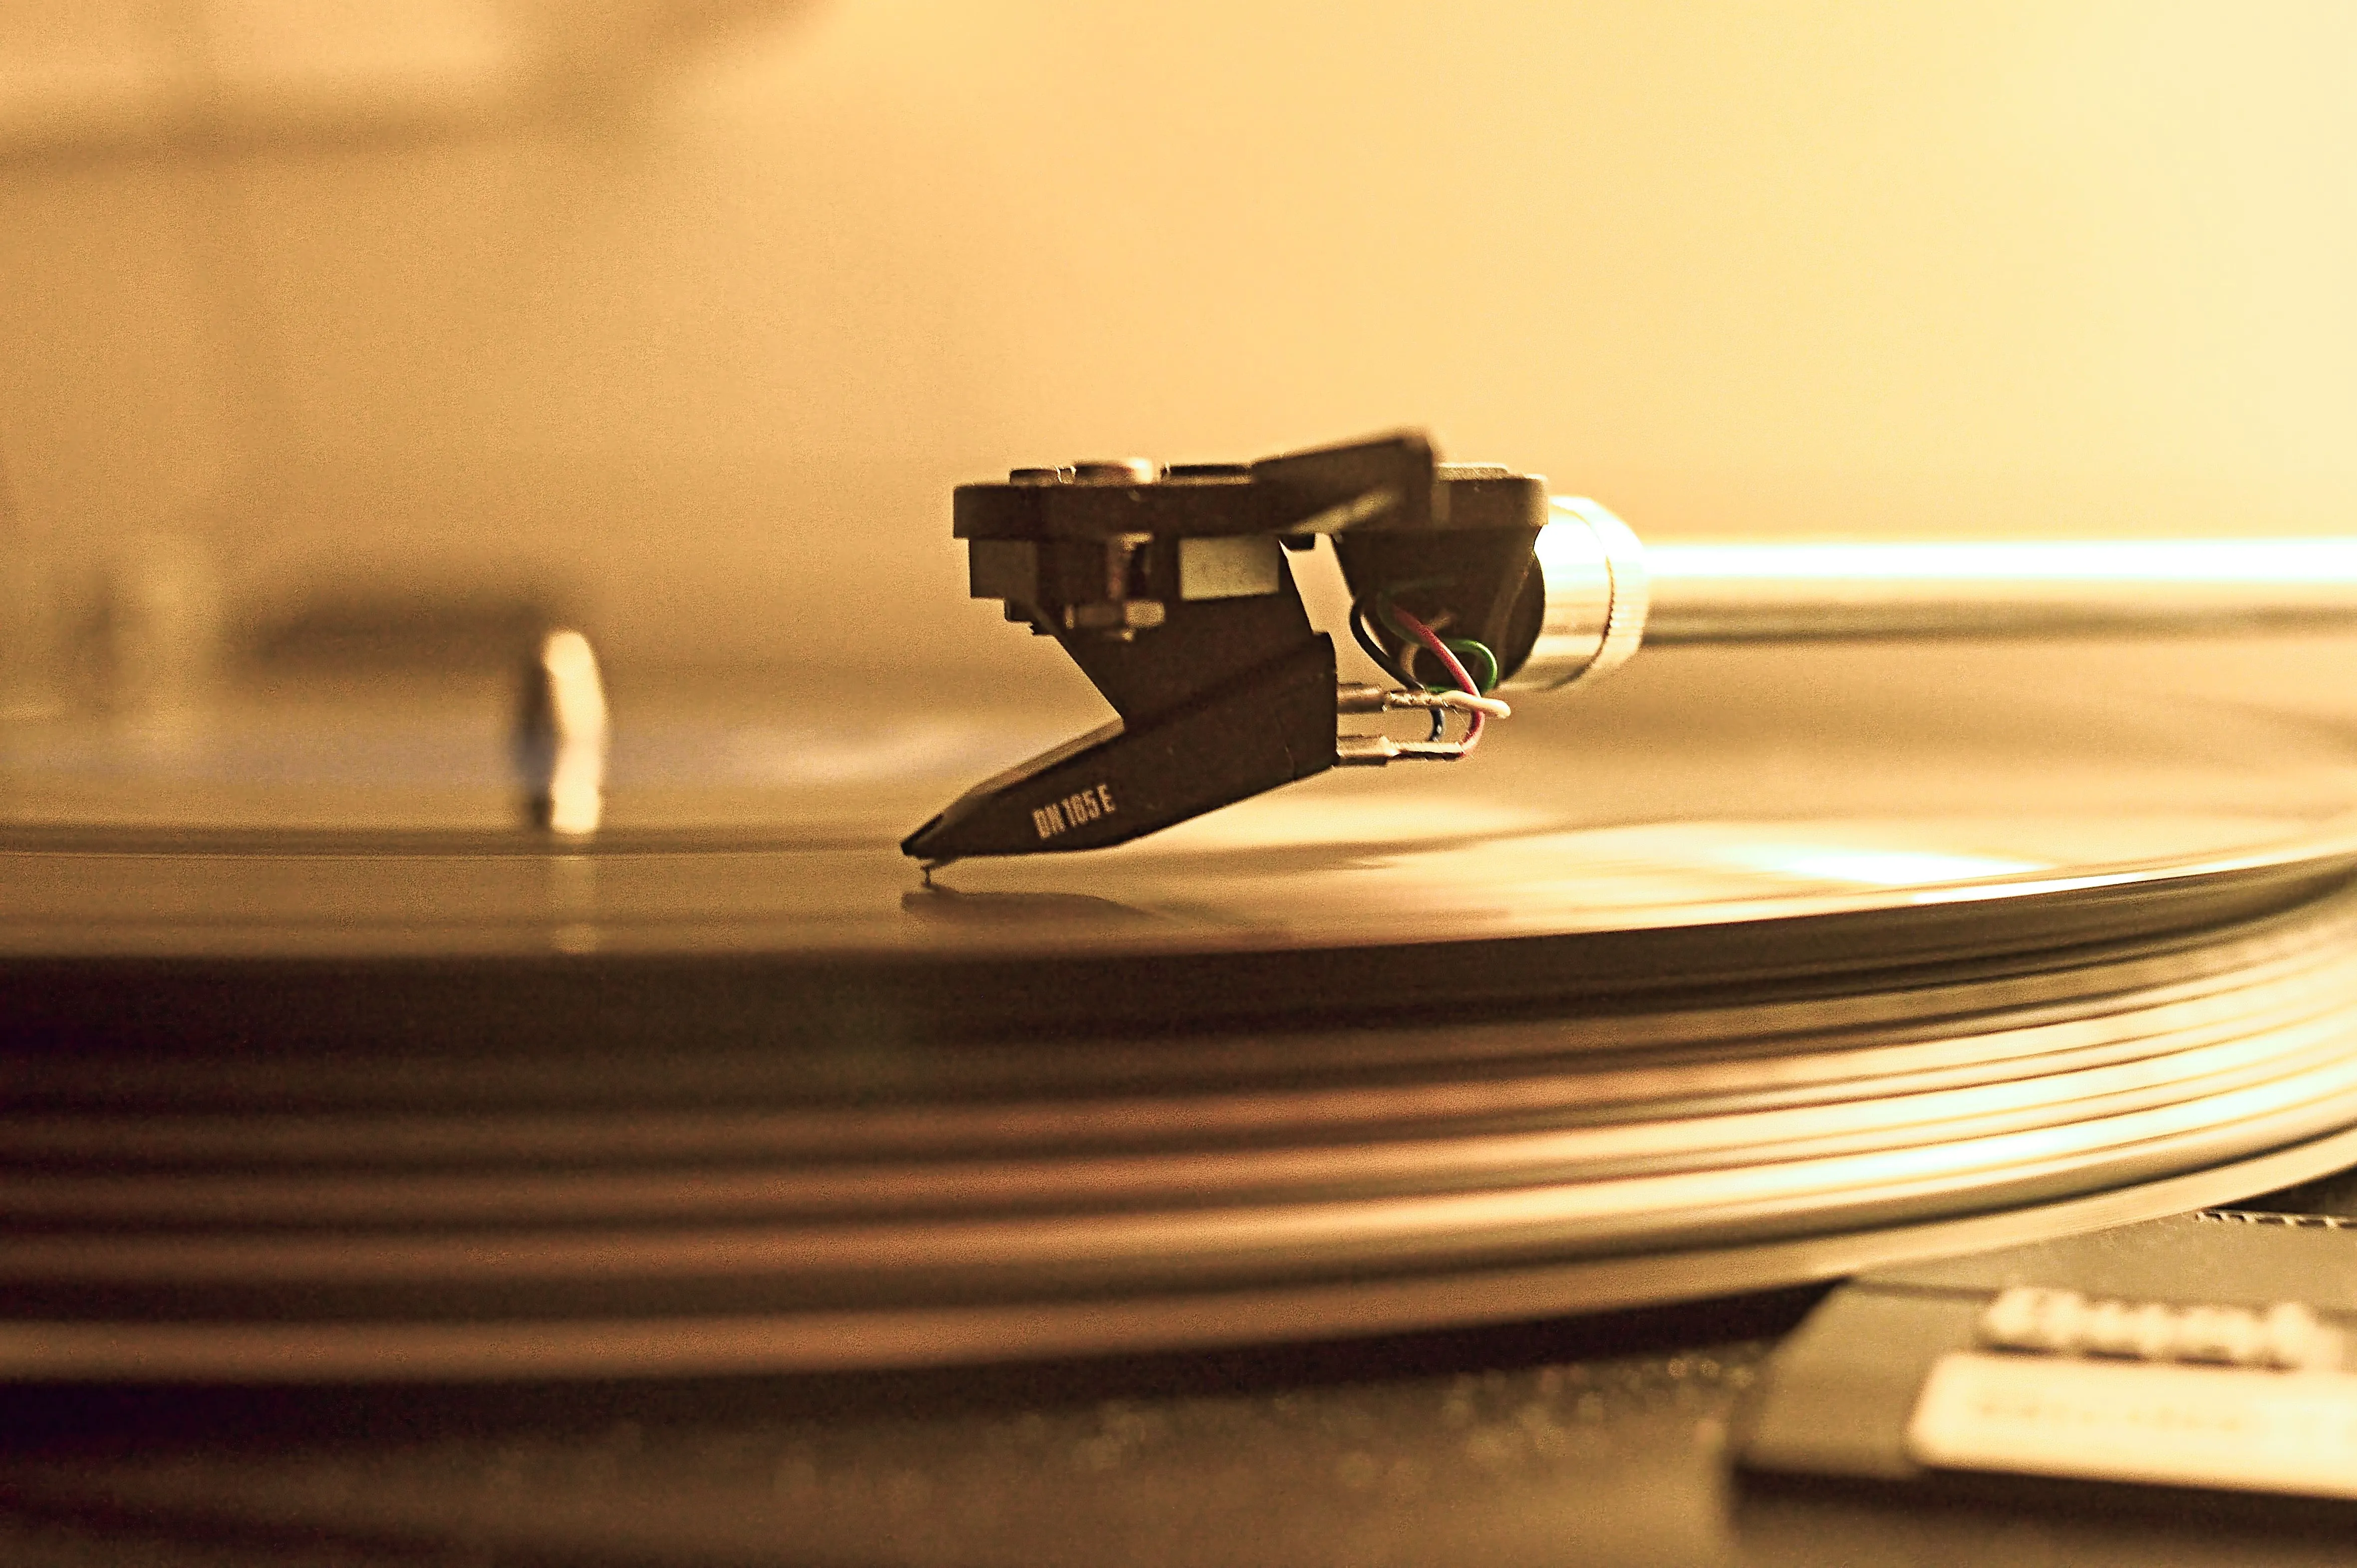
Learning how to align a turntable cartridge is a task most owners put off because it seems complicated and the jargon (overhang, null points, Baerwald) is daunting. In practice, it’s just half an hour of careful work with a protractor and a small screwdriver, and the reward is real: owners frequently report that inner-groove sibilance disappears and records they thought were worn out sound clean again. This guide, part of our turntable setup guides, covers both alignment methods and the errors that cause discrepancies between them.
In short
- There are two valid methods: the manufacturer’s overhang gauge (stylus at a fixed distance from the headshell collar, cartridge square) or a protractor for a chosen geometry. Use one or the other.
- Mixing them is the classic mistake: set the factory overhang, check it with a universal Baerwald protractor, and the two will never agree, because most Japanese arms are designed for Stevenson.
- A cartridge that appears crooked is often correct: it only sits square in the headshell with the geometry for which the arm was designed.
- Printed protractors are often slightly off scale: one owner’s 18 cm reference line measured 18.2 cm, enough to shift the outer null point by millimeters. Check it with a steel ruler.
- Not all inner-groove distortion is due to alignment: a worn stylus, low tracking force, or a binding tonearm can all cause the same sound, so rule those out first.
What does cartridge alignment do?
A record is cut by a cutting head that moves in a straight line across the record. In contrast, the tonearm of the record player swings in an arc, so the stylus only aligns perfectly with the groove at two radii, the null points. Elsewhere, there’s a small angle between the stylus and the groove, called tracking error, which causes distortion. Alignment can’t eliminate that error; it simply selects where on the record it is smallest.
Two settings control it:
- Overhang: sliding the cartridge forward or backward in the slots of the headshell.
- Offset (zenith in the headshell): rotating the cartridge so that the cantilever points along the groove.
First, rule out what alignment cannot fix
Distortion and sibilance that increase toward the end of a side are the classic signs of misalignment, but owners who investigated often found another cause. Check these before taking anything apart when learning how to align a turntable cartridge:
- The stylus: a worn stylus sounds exactly like inner-groove distortion. One owner proved this by moving the cartridge to another turntable, where the distortion followed; a new stylus fixed the problem.
- Tracking force: too little force mistracks near the label. One owner resolved right-channel distortion using a protractor and a tracking force gauge, after finding that the applied force was well below the cartridge’s range.
- A binding arm: balance the arm so it floats, then gently push it in both directions with the flat part of a strip of paper. On a semi-automatic Rotel turntable, the auto-return trip plate dragged; polishing off a burr eliminated the skipping and most of the distortion.
- Level and the cantilever: a deck tilted less than one degree, or a cantilever slightly twisted to one side, caused inner-groove distortion that alignment alone did not solve.
- The record: distortion that always occurs in the same place on the same second-hand record is usually permanent groove damage.
If you’ve just changed the cartridge, proper execution of how to align a turntable cartridge is the first thing you should check; our list of turntable cartridge upgrades provides specifications for the most popular models.
Method 1: the manufacturer’s overhang gauge
Many turntables with removable headshells are designed so that the stylus sits at a fixed distance from the headshell collar, with the cartridge square in the slots. This replicates the geometry for which the tonearm was designed, typically Stevenson on Japanese turntables. The Technics gauge sets 52 mm from the headshell collar to the stylus tip, which is equivalent to a 15 mm overhang. Distances that owners quote for other decks:
Collar-to-stylus distances owners use (box Porovnávacia tabuľka)
| Deck | Collar to stylus tip | Status |
|---|---|---|
| Technics SL-1200 family and clones | 52 mm | manufacturer gauge |
| Audio-Technica AT-LP120X | about 53.5 mm | one owner’s figure |
| Hitachi PS-48, HT-350/460 arms | 50 mm | service-manual figure quoted by owners |
| Yamaha YP-D8 | 48 mm | manual figure quoted by owners |
| Yamaha P-350 | 31.5 mm | owners’ figure |
As of 11/2026
Use calipers instead of a ruler to measure, and square the cartridge by checking that both screws are in the same position in their slots. This method only works with the headshell for which the turntable was designed: one Yamaha owner found that the alignment dot on his headshell resulted in a 19 mm overhang instead of 16 mm because the headshell came from a different model. Owners familiar with their tonearm report that the gauge method lands within about 0.5 mm of a correctly used Stevenson protractor.
Method 2: a protractor
A protractor allows you to choose the geometry. Each protractor is drawn for a specific alignment geometry, and they only differ in the location of the null points and, therefore, in where distortion is lowest.
Alignment geometries compared (box Porovnávacia tabuľka)
| Geometry | Outer null | Inner null | Where distortion is lowest |
|---|---|---|---|
| Baerwald (Löfgren A) | 120.9 mm | 66.0 mm | evened out across the side |
| Löfgren B | 117.2 mm | 70.3 mm | the middle of the side (about 97 to 67 mm) |
| UNI-DIN | 112.5 mm | 63.3 mm | the outer part, rising more at the inner end |
As of 11/2026
A fourth geometry, Stevenson, keeps distortion low toward the end of a side[cite: 1] at the cost of greater distortion earlier. Owners debate which is the best option: some use Stevenson against inner-groove distortion, others Baerwald for greater evenness, others Löfgren B for the lowest average error, and some doubt they can even hear the difference. If there’s no reason to choose, Baerwald is usually the default on generic protractors.
Myth and fact (box Mýtus a fakt) Myth: Records always end 60.325 mm from the center, so protractors drawn for that radius fit all LPs. Fact: That figure is a widespread misconception; LPs with modulated grooves down to about 58 mm have been measured, and the standard’s run-out calculation gives 56 mm.
The outermost modulated groove is standardized at 146.3 mm, but the inner limit is less certain than most protractors assume, and different standards (IEC, DIN, Japanese JIS) use different groove radii. Therefore, two protractors for the “same” geometry can differ by millimeters, and this is why one owner whose deck’s supplied protractor didn’t match three generated ones lost his inner-groove distortion by switching to a protractor generated for his arm.
Arc protractors and jigs. An arc protractor or a jig referenced to the tonearm pivot sets overhang more reliably than a two-point protractor alone, as the small angle error at a null point is difficult to see. Whenever possible, generate a protractor for your tonearm’s pivot-to-spindle distance; owners use 215 mm for most Technics turntables, 214.5 mm for the AT-LP120, and 222 mm for Rega tonearms.
Do not mix the two methods
The most common alignment problem owners describe is setting the factory overhang and then checking it on a universal Baerwald protractor. On a tonearm designed for Stevenson, the two never match: the Baerwald protractor wants the cartridge to be further forward and angled toward the spindle. One LP120 owner found that the Baerwald disc positioned the cartridge almost at the front of the slots, while the Technics gauge positioned it quite far back. Even a generic Stevenson protractor can be slightly off on early Technics turntables, which use a 21.5° offset instead of 22°.
Choose one option: the gauge for the deck’s own geometry or a protractor for the geometry you want, and judge the result by ear.
Watch out (box Pozor) Do not rotate the cartridge to make it look square after aligning it with a protractor. If you use a different geometry than the one the tonearm was designed for, the correct position will often look crooked in the headshell. Trust the cantilever on the grid, not the cartridge’s appearance.
How to align a turntable cartridge with a protractor, step by step
Step by step (box Krok za krokom)
- Set the tracking force and anti-skate to working values first, and then fully lower the arm lift.
- Mount the cartridge in the middle of the headshell slots with the screws just snug, so that it slides with slight resistance.
- Place the protractor where the record sits, on the mat or on a blank record, with the spindle hole taped so that it has no play.
- Lower the stylus onto the outer null point and look down along the cantilever: it should run parallel to the grid lines.
- Slide the cartridge forward or backward until the stylus lands exactly on the outer point.
- Move to the inner null point and check again; slightly rotate the cartridge if the cantilever is angled to the grid.
- Repeat outer and inner until both are square without further changes, which usually takes several rounds.
- Tighten the screws evenly, little by little on each side, and check both points once more.
- Re-check tracking force, since moving the cartridge slightly changes the balance.
After adjusting the overhang, the tracking force can shift by a tenth of a gram or two, so set it again using our guide on how to set tracking force.
Tip (box Tip) Light and magnification are more important than the price of the protractor. Owners backlight the stylus with a small torch and use a magnifying glass or even a monocular on a tripod. Judge the cantilever, not the cartridge body, and check that the headshell itself is straight on the arm.
A first alignment can take owners anywhere from 20 minutes to a couple of hours; once you’ve done it, the process becomes quick. Owners who compared found that a careful paper alignment matched a precision jig, making an expensive protractor optional.
Printing a protractor: get the scale right
Free printable protractors work, but only at exactly the right size. Print at 100 % scale with the “fit to page” option disabled, then measure the printed reference line or rectangle on the sheet. Owners repeatedly found errors they hadn’t detected with a tape measure: one owner’s 18 cm line measured about 18.2 cm, with the outer null off by a few millimeters, causing distortion on the first half of every side.
- Measure close to the targets: printers distort locally, so the scale near the null points matters more than a long reference line.
- Use a steel ruler or calipers: common plastic rulers differ from each other by more than the error you’re looking for.
- Protect it: laminate the sheet or put clear tape over the targets so that the stylus cannot tear the paper.
Worked example (box Príklad z praxe) A model check. The printed protractor says that the reference rectangle should be 150 mm tall; however, you measure 146 mm. That is 2.7 % small, so the Baerwald outer null, which should be 120.9 mm from the spindle, is printed at about 117.7 mm. Reprint with scaling switched off and measure again with a steel ruler before aligning anything.
When the cartridge does not reach the null points
Owners run into the same few blocks:
- Slots that are too short or wires that get in the way: if the stylus cannot reach the effective length, try a headshell with longer slots or a geometry like Löfgren B, which requires less overhang and less angle.
- A fixed headshell that cannot twist: use the deck’s own gauge figure or a geometry for which the arm was designed.
- An arm mounted at the wrong distance: a protractor generated for the actual pivot-to-spindle distance can still give a correct alignment.
Rega arms. Rega tonearms use three-point cartridge mounting, and Rega supplies a template with a printed protractor for other cartridges. Rega’s own alignment doesn’t use the standard Stevenson null points, so a generic Stevenson arc won’t match it exactly. Our Rega Planar 2 review shows the arm.
Pre-mounted cartridges. Turntables sold with a factory-fitted cartridge, such as the Pro-Ject Debut Carbon EVO, arrive aligned; check the alignment only if you change the cartridge or knock the headshell[cite: 3]. Pro-Ject lists that tonearm at 218.5 mm effective length and 18.5 mm overhang[cite: 3], which helps you check the result.
Shop alignments. Owners report paid alignments that worsened the sound and cartridges simply pushed to the very end of the slots. Check any alignment you didn’t do yourself.
Summary
To successfully master how to align a turntable cartridge, first rule out a worn stylus, low tracking force, and a binding tonearm. Then choose one method: the manufacturer’s overhang gauge with the cartridge square, or a protractor for your chosen geometry, ideally generated for your tonearm. Do not check one against the other. If using a printed protractor, verify its scale with a steel ruler near the targets, align the cantilever at both null points, tighten evenly, and re-check the tracking force.
Frequently asked questions
Can I align a turntable cartridge without a protractor?
On turntables with a manufacturer’s overhang figure, yes: set the stylus at the stated distance from the headshell collar with the cartridge square. On other turntables, use a protractor; a printed one at true scale will suffice.
Why does my cartridge look crooked after alignment?
Because you aligned it to a geometry for which the arm wasn’t designed, typically Baerwald on an arm designed for Stevenson. If the cantilever is square at both null points, it’s aligned.
Which alignment is better, Baerwald or Stevenson?
Neither is the best for every situation. Baerwald spreads distortion evenly across the side, Stevenson lowers it at the end of the side at the expense of the middle, and Löfgren B lowers it in the middle. Many owners don’t notice much difference.
How can I tell if my printed protractor is the correct size?
Measure the reference line or rectangle on the sheet with a steel ruler or calipers, near the null points. If it doesn’t match exactly, reprint at 100 % with scaling turned off.
Why is there still distortion near the label after alignment?
Common causes include a worn stylus, tracking force set too low, a binding tonearm, or groove damage on the record. Try a different stylus or record to find out which.
Sources (8)
- AnalogPlanet: UNI-DIN versus Löfgren B, just to clarify (no date, verified 11/2026). www.analogplanet.com/content/uni-din-versus-lofgren-b-just-clarify[cite: 1]
- Howard K.: Arc Angles: Optimizing Tonearm Geometry. Stereophile, 2009 (verified 11/2026). stereophile.com/content/arc-angles-optimizing-tonearm-geometry-page-3[cite: 2]
- Pro-Ject Audio Systems: Debut Carbon EVO, product sheet (no date, verified 11/2026). www.henleyaudio.co.uk/media/oiadmjpf/pro-ject-debut-carbon-evo.pdf[cite: 3]
- Audio-Technica: How to align an Audio-Technica phono cartridge (no date, verified 11/2026). audio-technica.com/en-gb/support/how-to-align-an-audio-technica-phono-cartridge[cite: 4]
- Rega Research: RB2000 tonearm, retail instructions (no date, verified 11/2026). cdn.shopify.com/s/files/1/0015/0401/8481/files/rb2000-retail-instructions.pdf
- Ortofon: Alignment tool, instructions (no date, verified 11/2026). ortofon.com/pages/alignment-tool
- Sumiko: Cartridge 101: All About Cartridge Alignment (no date, verified 11/2026). sumikophonocartridges.com/cartridge-alignment
- AlignmentProtractor.com: Linear offset (Sightline) protractor generator, printing instructions (no date, verified 11/2026). alignmentprotractor.com/sightline-protractor-generator/
