


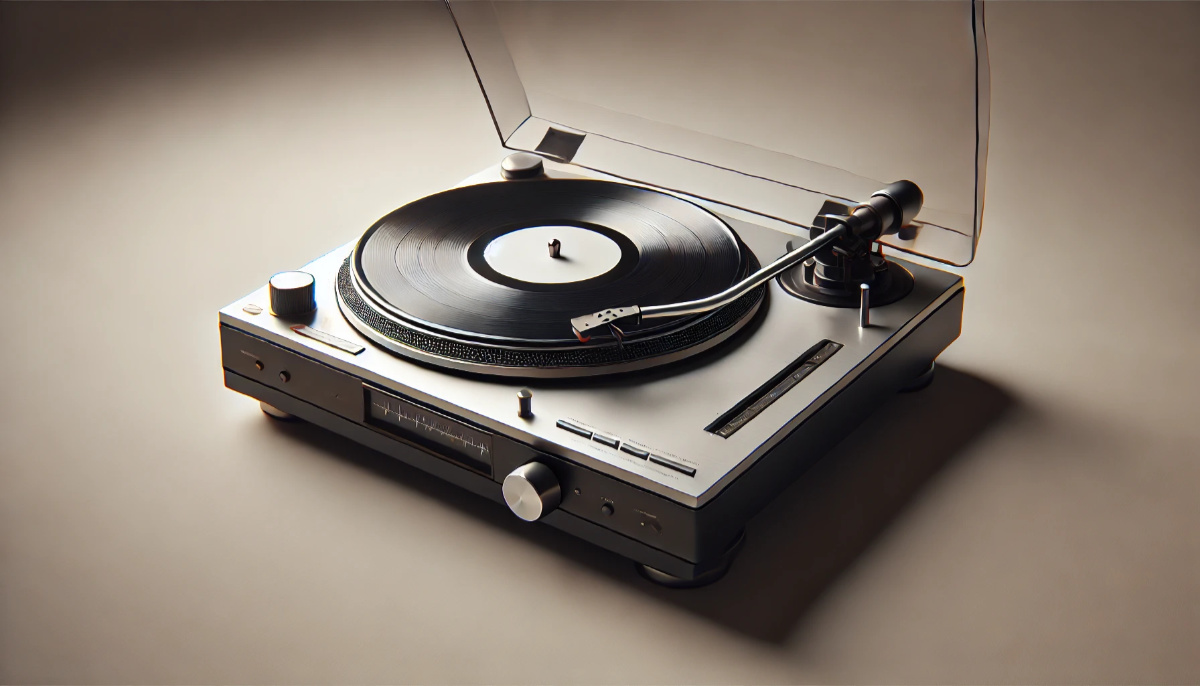
Balancing a tonearm is something every vinyl lover needs to master. It’s essential not only for getting the best possible sound out of your records but also for protecting your precious vinyl and stylus. Whether you’re just starting out or have been enjoying vinyl for years, learning how to balance your tonearm properly is crucial. Trust me, it’s easier than you might think, and it’s well worth the effort!
In this guide, I’ll walk you through why it’s important, what tools you’ll need, and exactly how to balance your tonearm step-by-step.
Why Balancing a Tonearm is Important
The balance of your tonearm directly affects how well your stylus tracks the grooves of your records. If the tonearm is too heavy, the stylus can dig too deeply into the vinyl, leading to unnecessary wear and even damage to both your records and the needle. On the flip side, if the tonearm is too light, the stylus might skip across the record, resulting in frustrating interruptions in playback.
A poorly balanced tonearm also contributes to turntable skating, where the stylus gets pulled inward toward the center of the record. This not only leads to poor audio performance but can also wear out your records unevenly.
Here’s why tonearm balance matters:
- Preserving your records: Proper balance keeps the stylus from wearing out the grooves too quickly.
- Protecting your stylus: Prevents damage and extends the life of your needle.
- Enhancing sound quality: Reduces distortion and improves clarity.
- Preventing skipping: Ensures smooth playback without interruption.
If you want a more in-depth explanation of how tonearm balance impacts playback, check out this detailed Tonearm Alignment Guide on Vinyl Engine.
Tools Needed to Balance a Tonearm
Before you start adjusting, make sure you have these tools:
- A turntable with an adjustable counterweight: Most turntables come equipped with this.
- Stylus force gauge (optional): For extra precision when setting the tracking force.
- Cartridge manual: You’ll need this to find the recommended tracking force for your specific cartridge.
If you don’t have a stylus gauge, don’t worry—most turntables have a built-in dial that can get the job done. But for those who are serious about precision, a stylus gauge is a handy tool.
Step-by-Step Guide on Balancing a Tonearm
Step 1: Prepare Your Turntable
First, make sure your turntable is on a level surface. If it’s not, you’ll have a hard time balancing the tonearm accurately.
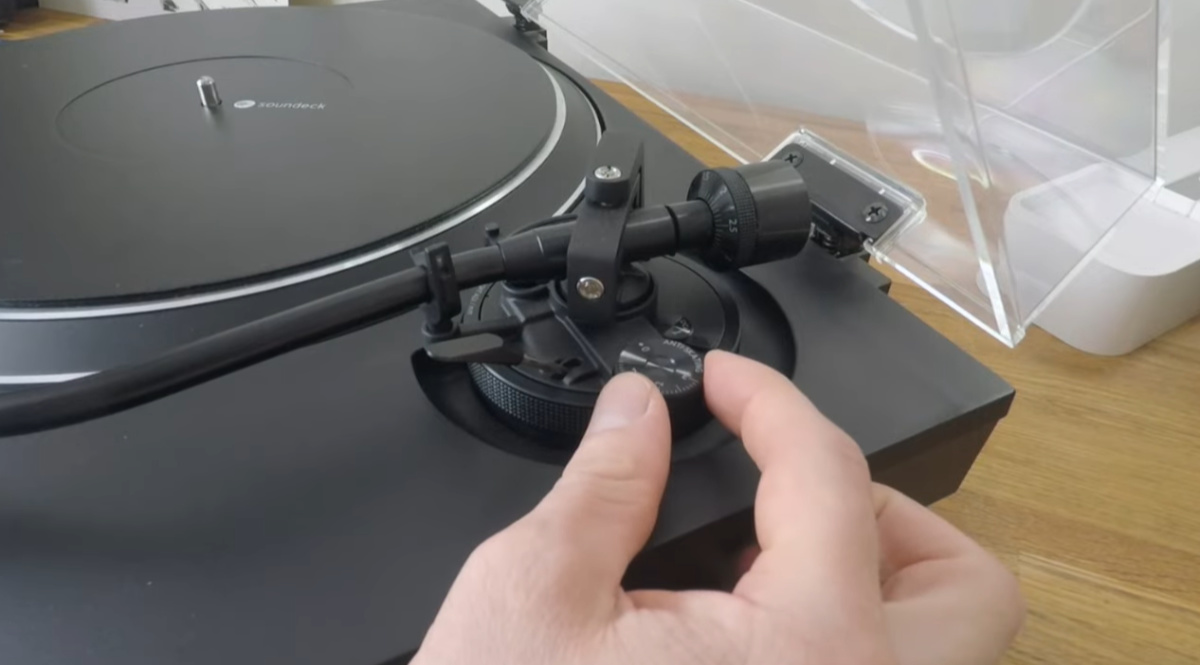
Next, remove the stylus guard (if you have one) and set the anti-skating dial to zero. Anti-skating helps counteract the inward pull on the tonearm, but we need to disable it temporarily for balancing.
Step 2: Adjust the Counterweight
Now, let’s tackle the counterweight. It’s the knob at the back of your tonearm, and it controls the downward pressure the stylus applies to the record.
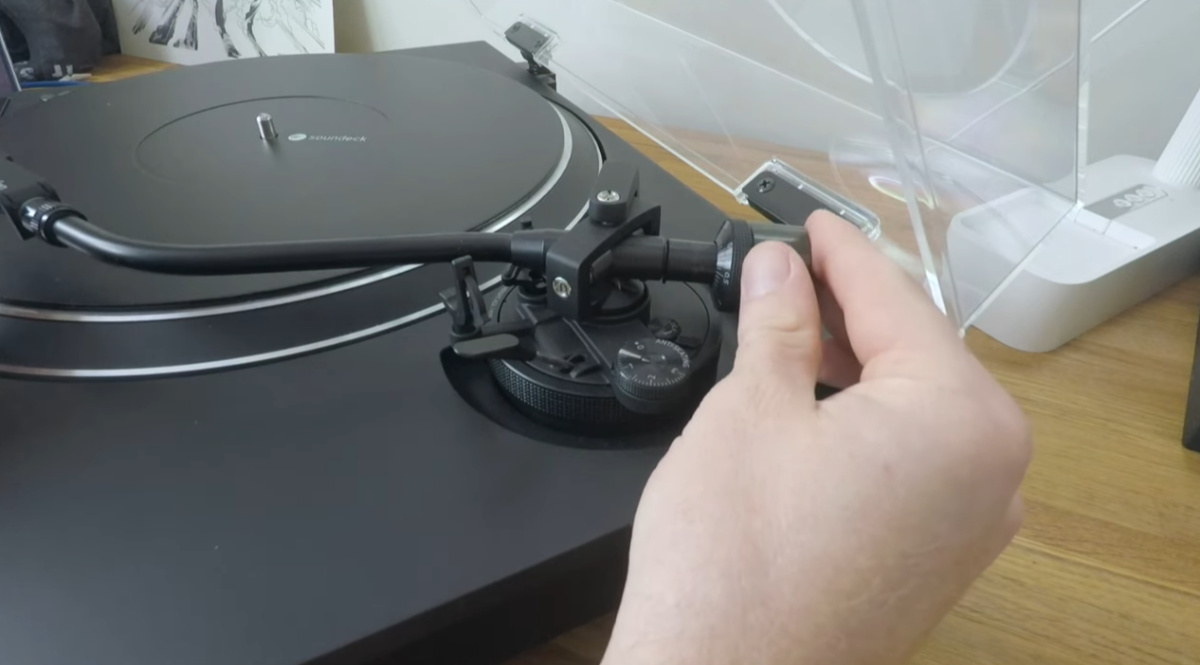
- Gently hold the tonearm by the headshell (the part holding the stylus).
- Rotate the counterweight until the tonearm floats horizontally. The goal is to have the tonearm balanced, with no pressure up or down.
- Once the tonearm floats freely, you’ve found the zero-balance point.
Step 3: Set the Tracking Force
Once the tonearm is floating, you’ll need to set the correct tracking force for your cartridge. This is typically between 1.5 to 2.5 grams, depending on your cartridge. You can find the specific tracking force in your cartridge manual.
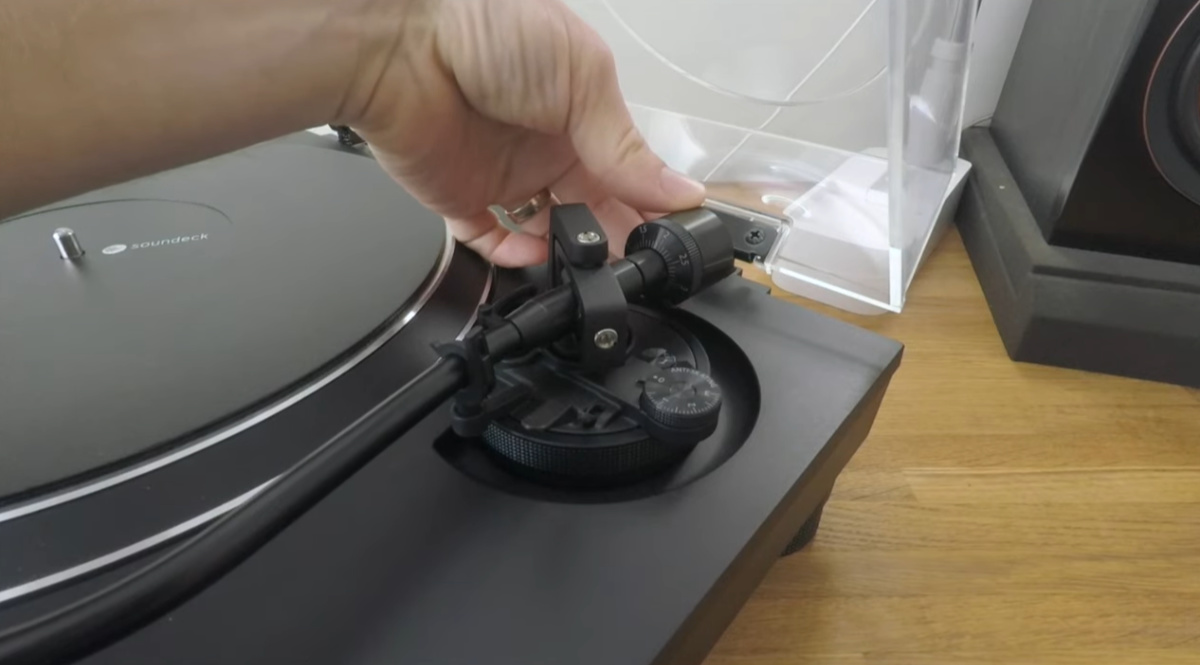
- Keep the counterweight in place, and rotate the tracking force dial (usually right next to the counterweight) to zero.
- Then, rotate both the dial and counterweight together to set the correct tracking force for your cartridge.
To get the most accurate tracking force possible, I recommend using a stylus gauge. Here’s a great guide from Turntable Lab on cartridge setup and tonearm balancing that explains this process in more detail.
Step 4: Adjust Anti-Skating
After setting the tracking force, don’t forget to adjust the anti-skating dial. Anti-skating keeps the tonearm centered as it moves across the record, preventing the stylus from pulling inward too strongly.
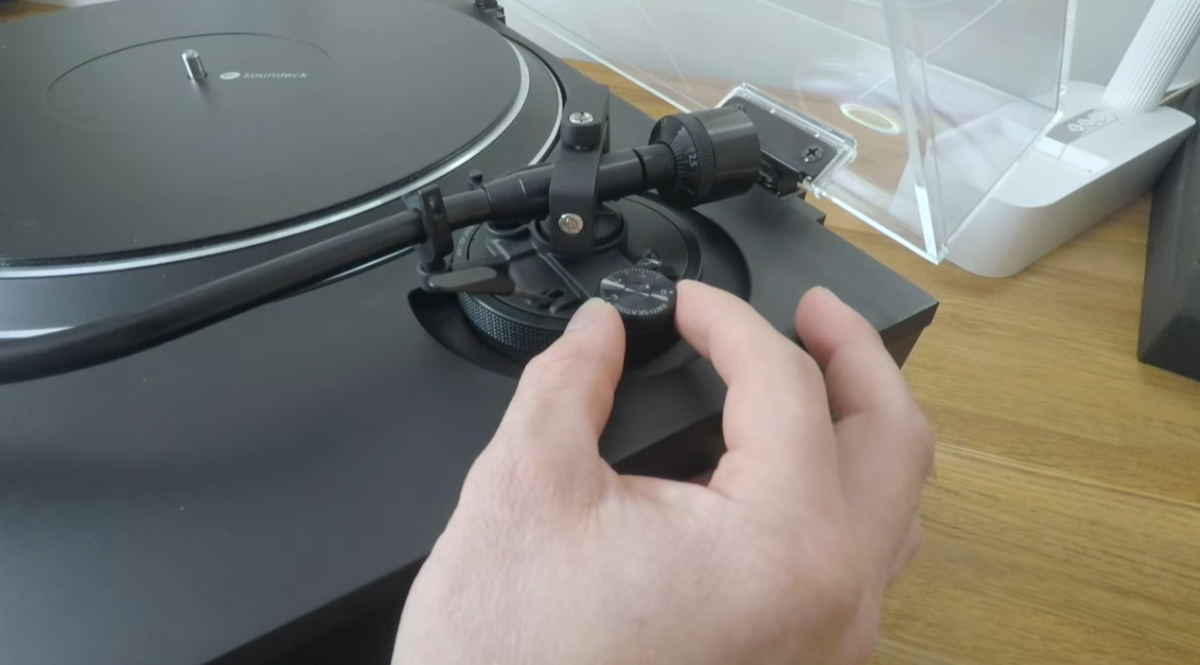
- Set the anti-skating dial to the same value as your tracking force. For example, if your tracking force is set to 2.0 grams, set the anti-skating dial to 2 as well.
This final step ensures smooth and consistent playback, while reducing distortion and uneven record wear.
Common Mistakes to Avoid
When balancing your tonearm, it’s easy to make a few mistakes that could affect your sound quality or damage your equipment. Here are some common errors to watch out for:
- Setting the wrong tracking force: Always double-check your cartridge’s recommended force. Using too much or too little can affect the playback.
- Misaligning the counterweight: Make sure you achieve proper balance before setting the tracking force.
- Forgetting to adjust anti-skating: Skipping this step can lead to uneven wear on your records and affect sound quality.
Avoiding these mistakes will help extend the life of both your records and stylus. For more detailed setup tips, I recommend checking out What Hi-Fi’s tonearm setup guide.
Conclusion
Balancing your tonearm is a quick and easy process that has a huge impact on your listening experience. By following these steps, you’ll not only protect your vinyl collection but also ensure your records sound as good as they possibly can.
If you ever run into issues, just revisit this guide and make sure your setup is still properly aligned. Remember, it’s all about preserving that sweet analog sound for years to come!
For those of you who like video tutorials, you might find this Vinyl Eyezz guide on setting up a turntable particularly useful, or you can watch HiViNyws’ tonearm balancing tutorial.
FAQs on Tonearm Balancing
How often should I balance my tonearm?
You should rebalance your tonearm whenever you install a new cartridge or if your turntable gets moved around frequently. Regular check-ups are a good idea, especially if you notice any issues with skipping or sound quality.
Can I balance my tonearm without a stylus gauge?
Yes, most turntables have a tracking force dial that can get you pretty close to the recommended setting. However, if you’re serious about accuracy, investing in a stylus gauge can help fine-tune the process.
What happens if the tonearm is not balanced?
An unbalanced tonearm can lead to a variety of issues, including poor sound quality, skipping, and increased wear on both your records and stylus. Over time, these issues can cause permanent damage to your vinyl collection and necessitate expensive needle replacements.
